TM 5-3805-261-23-1
HORN BUTTON ASSEMBLY AND MOUNTING REPLACEMENT - CONTINUED
0120 00
REMOVAL - CONTINUED
6.
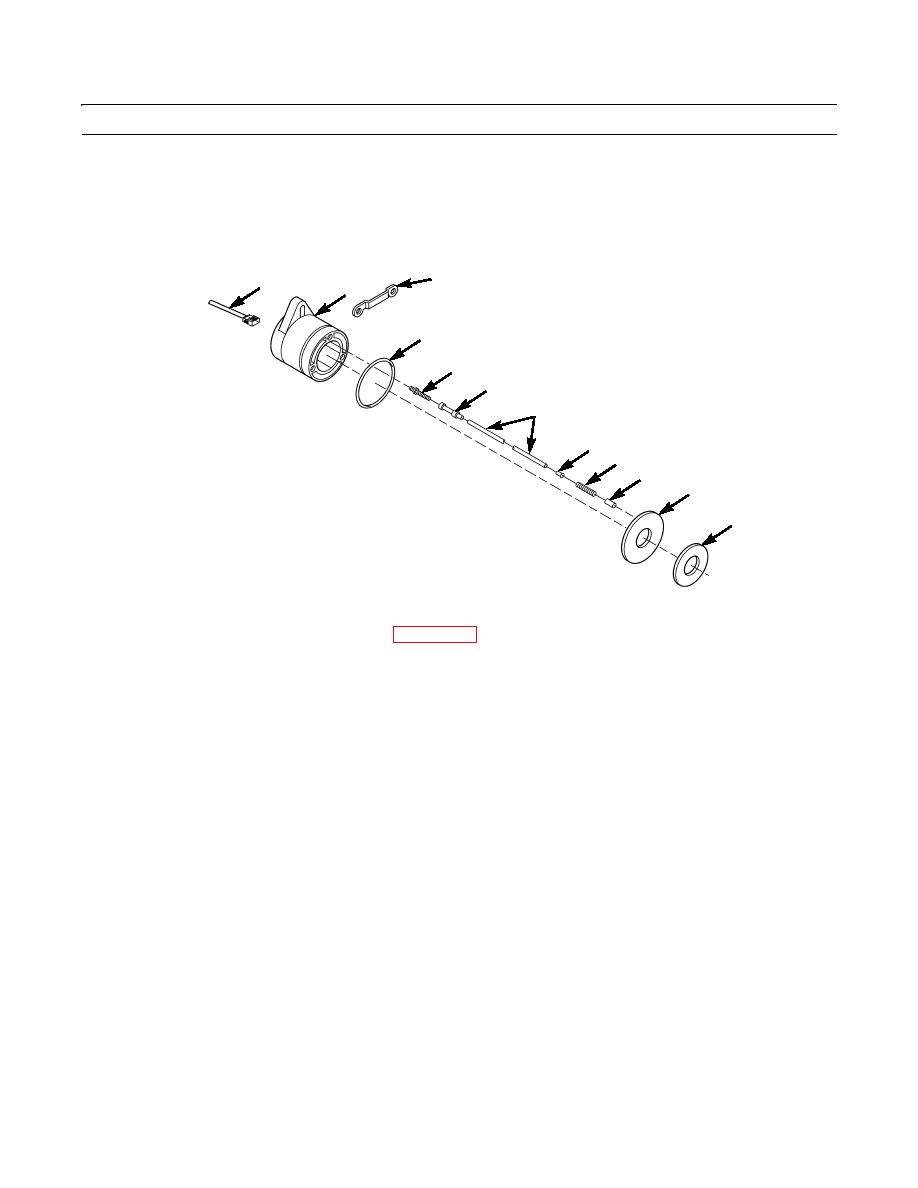
Remove bushing (21), ring (20), four brushes (19), and springs (18).
7.
Disconnect wire harness (10) and remove pin (14), connector body (15), electrical lead (16), and contact (17).
8.
Remove seal (13), strap (12), and retainer (11). Discard seal.
12
10
11
13
14
15
16
17
18
19
20
21
397-2103
CLEANING AND INSPECTION
Clean and inspect all parts in accordance with WP 0021 00.
INSTALLATION
1.
Install retainer (11), strap (12), and new seal (13).
2.
Install contact (17), electrical lead (16), connector body (15), and pin (14), and connect wire harness (10).
3.
Install four springs (18), brushes (19), ring (12), and bushing (21).
0120 00-3


