
TM 5-3805-293-10
0006
TRAVELING AND EARTH MOVING OPERATIONS CONTINUED
C AU T I O N
Make sure the blade is lowered to the ground before retracting the centershift lock pin.
Failure to follow this caution may result in damage to machine.
4. Circle the moldboard to 0 degrees to the grader frame and lower the moldboard to approximately 2 in. (50 mm)
above the ground.
5. Side shift the moldboard all the way to the right.
6. Centershift the circle assembly all the way to the right.
C AU T I O N
Lower the moldboard as needed to prevent metal-to-metal contact between the lift arm
and frame.
7. Lower the moldboard to the ground.
N OT E
Activating blade float will relieve all pressure from the moldboard.
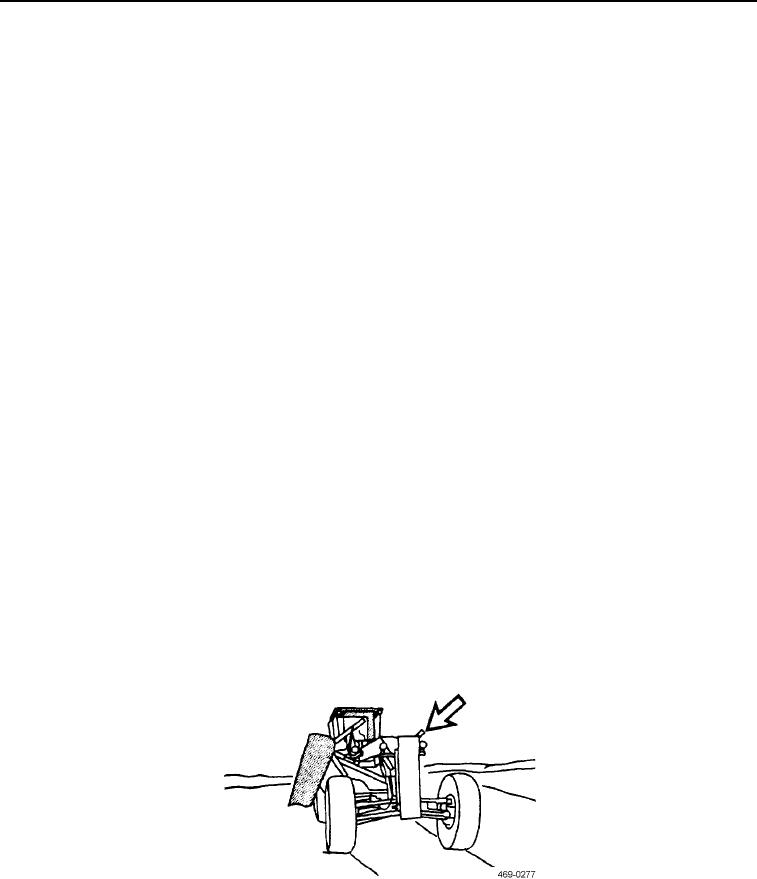
8. Retract centershift lock pin.
9. Using right and left joysticks, position the centershift saddle to the far left centershift position.
10. Place the centershift lockpin into the far left centershift position.
N OT E
You may need to move the blade controls to completely seat the centershift lockpin.
11. Press the centershift lock switch to engage and lock centershift lockpin.
12. Raise the toe of the blade while lowering the heel as needed to bring the moldboard out to the right side of the
grader.
13. Circle the moldboard assembly to the right to the desired position.
Figure 81. Setting Blade Position.
0006
0006-44