
TM 5-3805-293-10
0006
TRAVELING AND EARTH MOVING OPERATIONS CONTINUED
4. Apply enough pressure on the toe to penetrate the surface 3-4 in. (75-100 mm).
N OT E
At this point, the primary concern is to follow the proposed ditch line. Example: If stakes
are utilized, ensure the left front tire is directly in line with the next stake.
5. At the completion of the marking cut, feather the material and raise the toe all the way. Continue forward
movement until the rear tires pass over and off the marking cut.
6. Straighten the front wheels and steer the grader to the left approximately 45 degrees to the ditch.
7. Back the grader along the outside edge of the windrow to the start point.
N OT E
After the initial marking cut, ensure quality control on all remaining cuts. The marking cut
provides and excellent track for the grader to follow. The grader is set up already to the
ditching cut to follow.
Steps 8 through 13 pertain to making "Ditching Cuts."
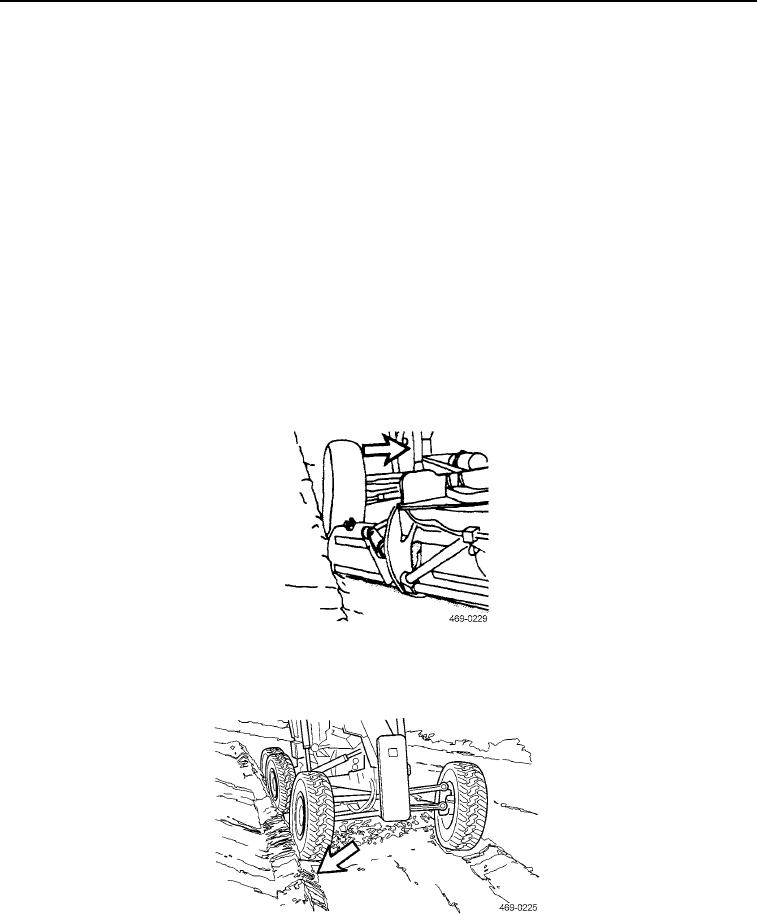
8. Pull forward and stop the grader just as the left front tire enters the marking cut.
Figure 54. Tire Position.
0006
9. Lean the front tires toward the heel.
Figure 55. Wheels Placed for Continued Ditching.
0006
0006-30