
TM 5-3805-293-10
0006
TRAVELING AND EARTH MOVING OPERATIONS CONTINUED
40. Right to Left
a. Beginning at the right side of the area boundary, blade the material from the right side to the left side.
b. Ensure the grader is centered on the windrow for each consecutive pass, leaving a windrow of material
along the left boundary.
41. Left to Right
a. Beginning at the left side of the area boundary, blade the material from the left side to the right side.
b. Ensure the grader is centered on the windrow for each consecutive pass, leaving a windrow of material
along the right boundary.
42. Center to Right / Center to Left
a. Beginning at approximately the center line of the area, blade (level) the material from the center starting
point to the left boundary line.
b. Reposition the grader to the center line again, blade (level) the material from the center starting point to the
right boundary line.
END OF TASK
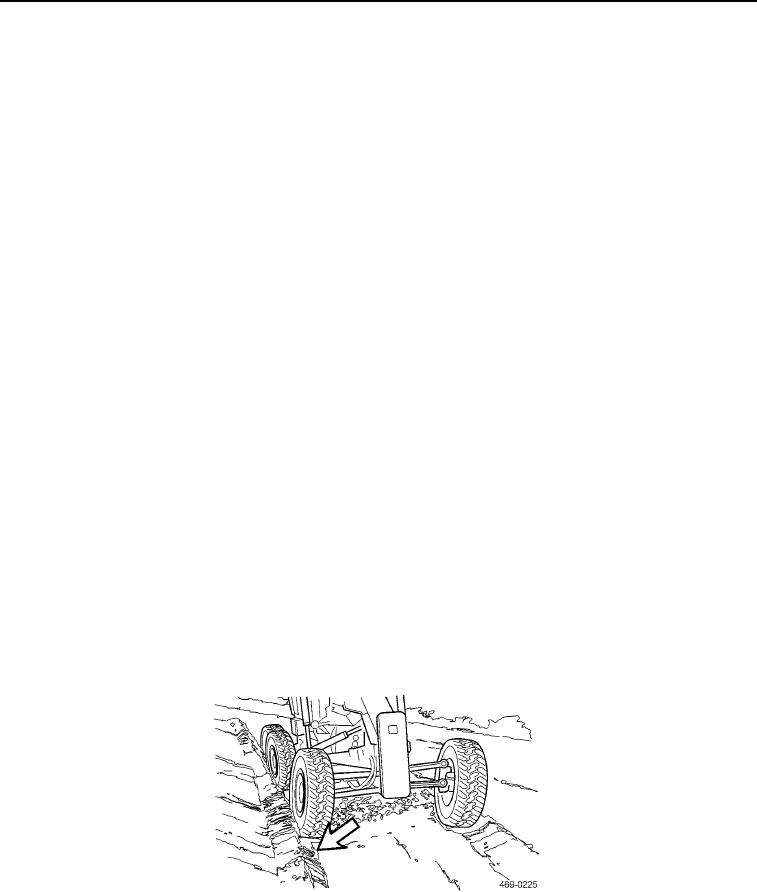
Left-Hand "V" Ditching
0006
C AU T I O N
Make sure the blade is lowered to the ground before adjusting centershift. Failure to follow
this caution may result in damage to machine.
Make sure frame is in straight alignment. If the machine is articulated, the tire sidewalls
may be forced against the back slope, causing tire sidewall damage and also forcing dirt
between the tire and rim, causing air loss and flat tires.
N OT E
Steps 1 through 7 pertain to making a "Marking Cut."
1. Position the grader outside the working area of the project.
Figure 51. Positioning Grader.
0006
0006-28