TM 5-3805-263-14&P-3
CRANKSHAFT
Check crankshaft screw threads, tapered ends and all
machined and ground surfaces for wear, scores, or
damage. Crankshaft journals which are out of round
should be replaced. Main bearing journals must be
maintained so bearings are snug fit. The oil seal ring
groove or grooves In crankshafts fitted with oil seal rings
must not be worn. The ring groove walls must have a
good finish and they must be square. Check to be sure
the oil passages are open and clean through the
crankshaft.
CONNECTING ROD BEARINGS
Check connecting rod bearings on crankshaft journals
for proper fit. Connecting rod caps are not
interchangeable. The locking slots of the connecting rod
and cap should be positioned adjacent to each other.
Clearance between the connecting rod journal and the
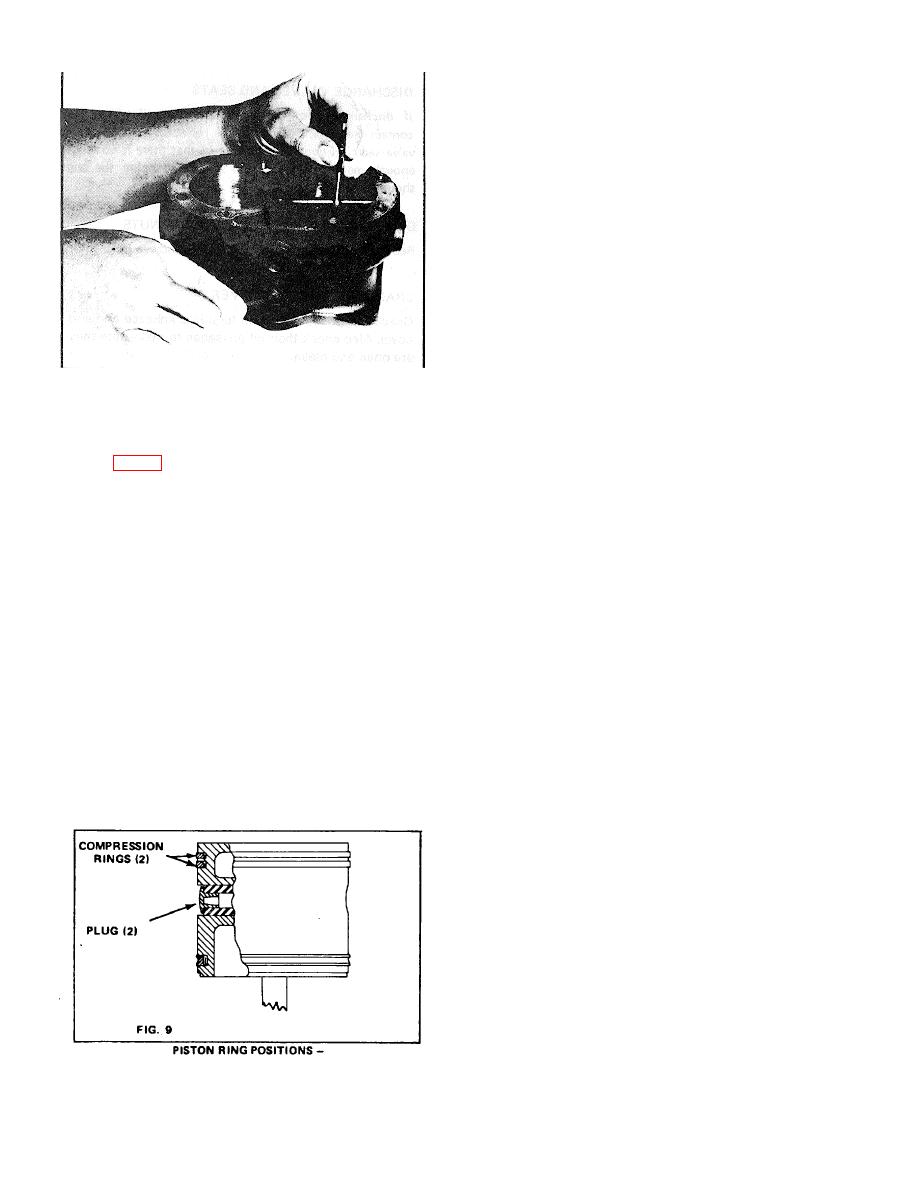
FIGURE 8
connecting rod bearing must not be less than 0.0003 in.
MEASURING CYLINDER BORES
or more than 0.0021 in.
CYLINDER BORES
Cylinder bores which are scored or out of round by more
MAIN BEARINGS
than 0.002 in. or tapered more than 0.003 in. should be
The sleeve bearing should be checked for scores and
replaced (Fig. 8).
wear and replaced if necessary.
Cylinder bores must be smooth, straight, and round.
Clearance between cast iron pistons and cylinder bores
UNLOADER MECHANISM
should be between 0.002 in. minimum and 0.004 in.
Used unloader mechanism should be replaced.
maximum (Fig. 20).
The new unloader pistons should be a loose sliding fit in
PISTONS
the unloader piston bores of the cylinder block.
Check pistons for scores, cracks or enlarged ring
grooves; replace pistons if any of these conditions are
REPAIRS DISCHARGE VALVES AND SEATS
found.
If discharge valve seats merely show signs of slight
Measure each piston with a micrometer in relation to the
wear, they can be dressed by using a lapping stone,
cylinder bore diameter to be sure the clearance is
grinding compound and grinding tool. Install new
between 0.002 in. minimum and 0.004 in. maximum.
discharge valves and valve springs.
Check fit of wrist pins on pistons and connecting rod
bushings. Wrist pin should be a light press fit in pistons.
To test for leakage by the discharge valves apply about
If wrist pin is loose fit, the pin, piston, or both should be
100 pounds of air pressure through the cylinder head
replaced.
discharge port and apply soap suds at the discharge
Check fit of wrist pin in connecting rod bushing by
valves and seats.
rocking the piston. This clearance should not exceed
0.001 5 in.
Leakage which will permit the formation of bubbles is
Replace the connecting rod if excessive clearance is
permissible.
found.
If excessive leakage is found, leave the air pressure
applied, and with the use of a fibre or hardwood dowel
and hammer, tap the discharge valves off their seats
several times. This will help the valves to seat and
should reduce any leakage.
FIGURE 9 PISTON RING POSITION
3-138


