TM 5-3805-293-10
0006
TRAVELING AND EARTH MOVING OPERATIONS CONTINUED
2. Place the grader into ditching position as follows;
a. Raise the moldboard 4-6 in. (100-150 mm) off the surface to allow unrestricted movement.
b. Pitch the blade halfway.
c.
Center the blade on the circle by side shifting if needed.
d. Center shift until the heel cylinder is straight up and down.
e. Rotate the moldboard so the toe is just behind the outside edge of the right front tire.
f.
Raise the heel cylinder all the way up.
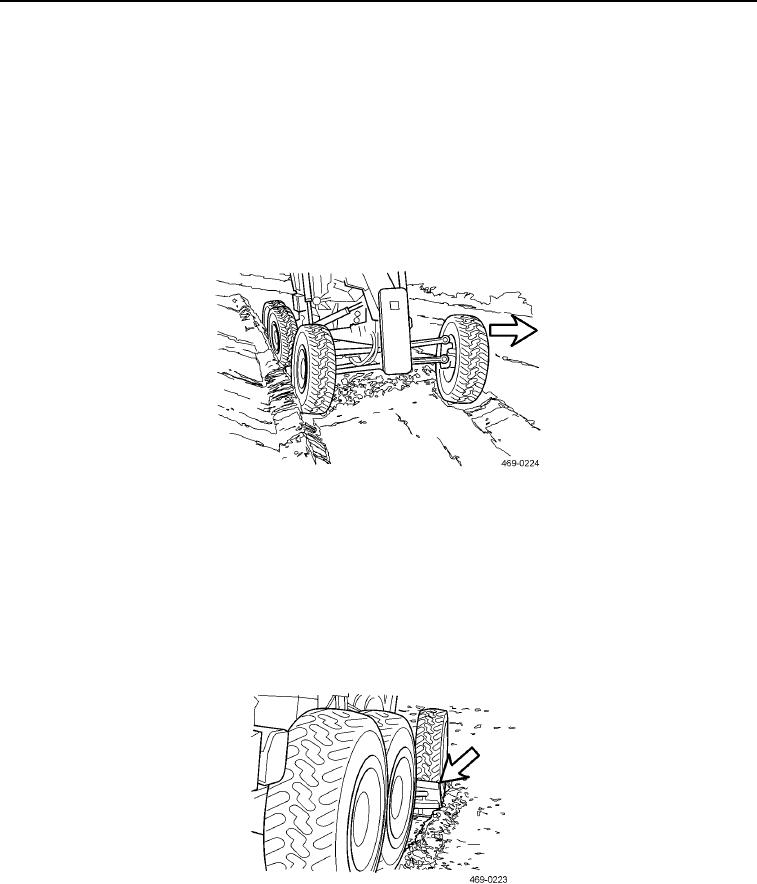
g. Lean the front wheels toward the heel.
Figure 42. Leaning Wheels Toward the Heel.
0006
N OT E
The grader is now in the ditching position. Align the right front tire on top of the proposed
ditch line. Make a visual check to finish point of the ditch. Maintain control of the grader
and do not permit it to deviate from the proposed ditch line.
3. Place the grader in motion and as the right front tire passes over the starting point of the ditch, lower the toe.
Figure 43. Adjusting Blade to Deliver Material.
0006
0006-22

